Download the exclusive free “Arena Mat” and get started now!
Video Tutorial
Game's Rules
No time to watch videos? This is everything you need to know!
- Collect 5 cards in the Winning Zone.
- Defeat your opponent's cards by reducing their active card's HP.
- Whoever successfully collects 5 cards in the Winning Zone is the winner.
- “Build a deck with 30 cards (max 2 Support/Permanent cards) + 3 OSOM cards.
- Draw 3 cards from your deck to your hand.
- Pick 1 OSOM card to decide who goes first with your opponent.”
- Show the OSOM card you picked at the same time as your opponent to decide who gets the first attack.
- Use Support cards in between attacks.
- Any opponent’s card you defeat goes into the Win Zone.
- Any defeated cards and used support cards go into the Lose Zone.
- Collect 5 cards in your Win Zone and you WIN!! 🏆
Complete Game Guide
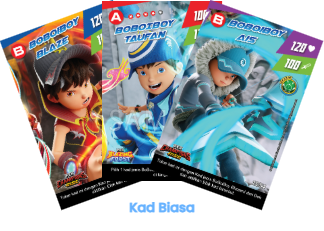
Active Cards
The main cards you use to attack your opponent. You must place 1 card in the Active Zone every turn. There are 2 types:
Normal Cards: You can place them anytime.
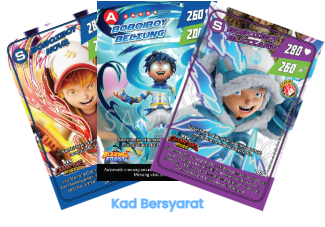
Conditional Cards: You can only place them when the condition is met.
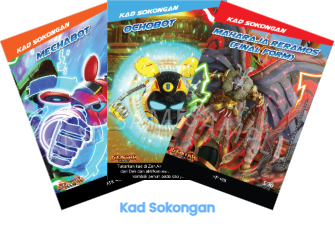
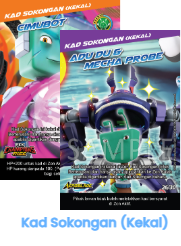
Support Card /
Permanent Support Card
Support Cards are used after the first Osom if your opponent hasn’t been defeated yet.
Normal: The effect only lasts for that turn, then it goes to the Lose Zone.
Permanent: The effect stays until you replace it with a new Support Card. The effect can’t be copied, stolen, or canceled by other cards.

HP Marker
HP Marker cards can be folded into a dice to track HP or the number of Osom. There are two types:
HP Marker A (HP Card): Shows the card’s HP value (20–120). Use 2 markers if the HP is more than 120.
HP Marker B (OSOM Counter): Shows how many Osom you need to do to defeat your opponent.
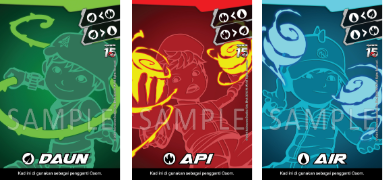
Kad "OSOM"
Cards you use to attack your opponent. Place the card face-down in the Osom Zone and reveal it at the same time. There are 3 types:
Leaf (🍃) beats Water
Fire (🔥) beats Leaf
Water (💧) beats Fire
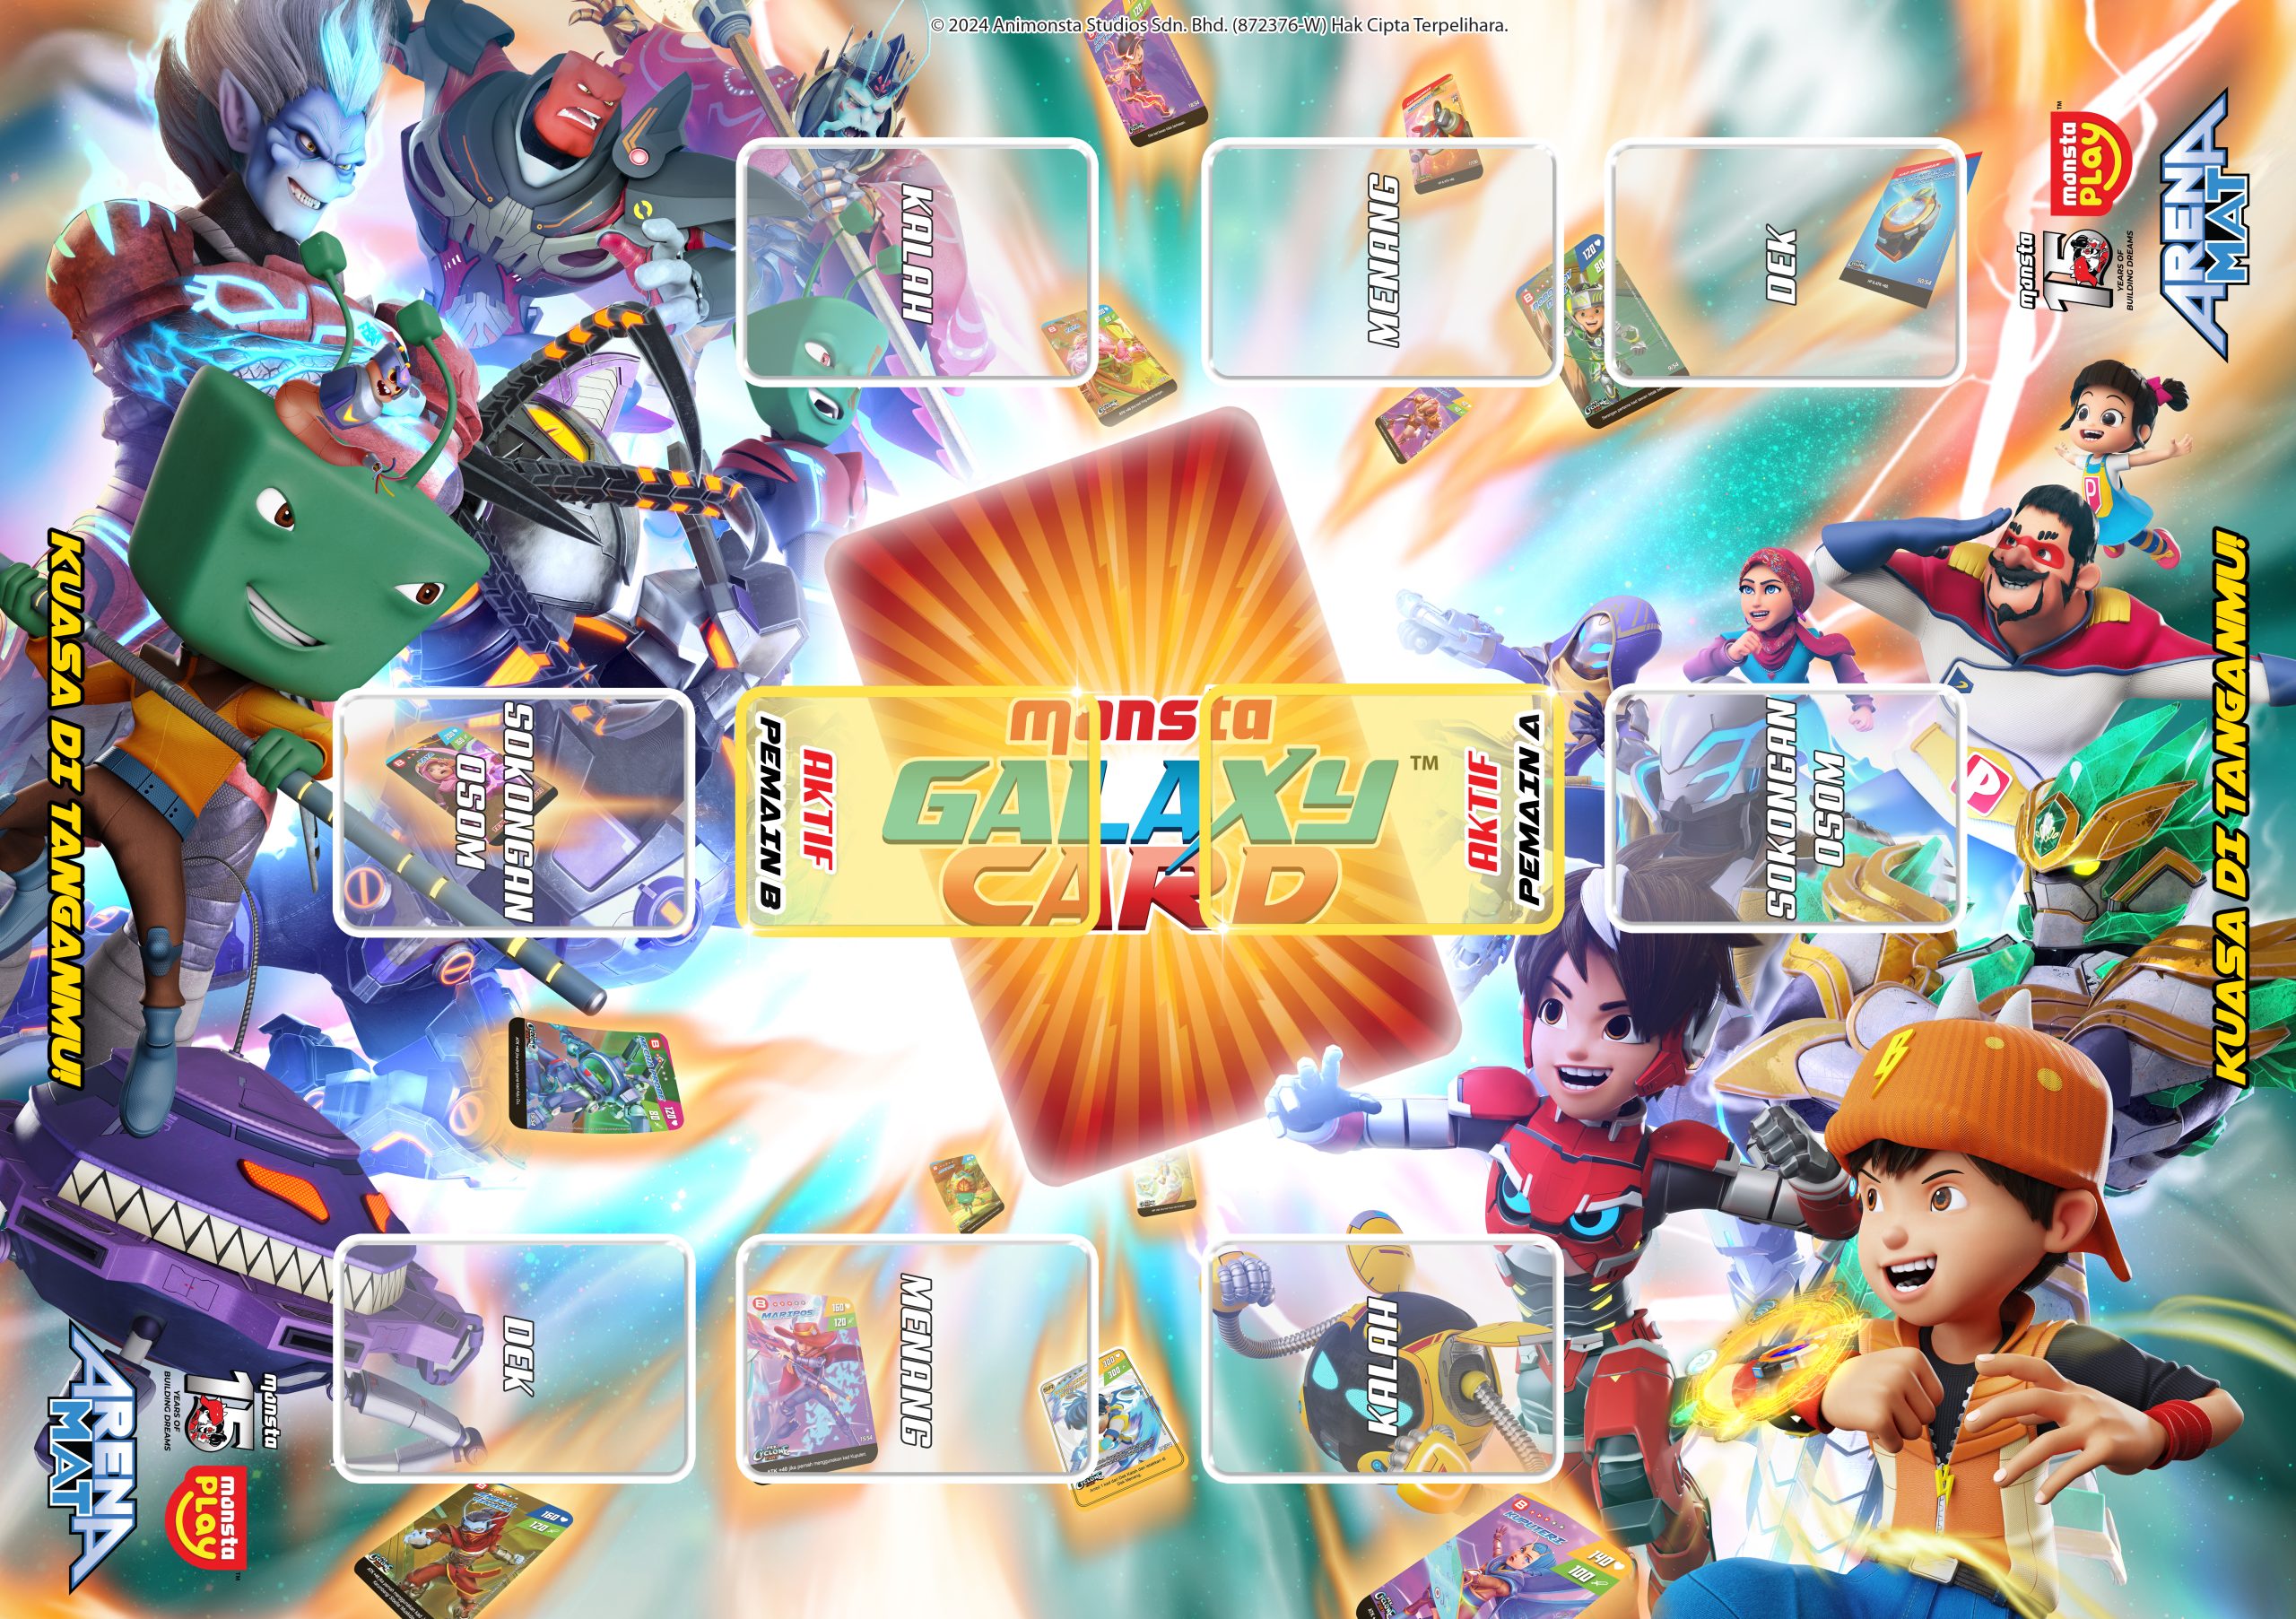
Before starting a Monsta Galaxy Card battle, players need to understand the main zones found in the Galaxy Card Arena.
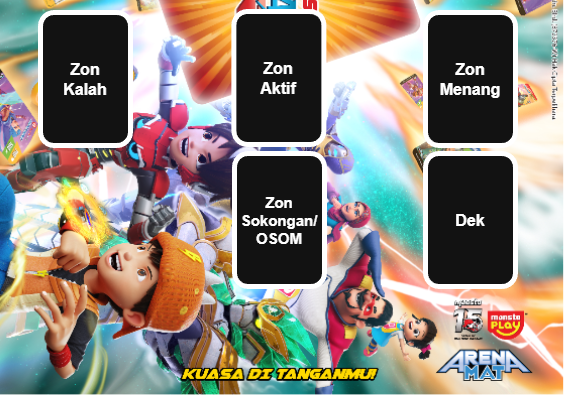
ACTIVE ZONE:
Where you place your card to battle!
WIN ZONE:
Where you keep the cards you’ve beaten!
LOSE ZONE:
Where defeated cards go!
DECK:
Place your 30 main cards here face-down. Draw 3 cards from here into your hand.
Important: The 3 Osom Cards are NOT part of this deck!
SUPPORT/OSOM ZONE:
Osom Zone: Place your Osom Cards face-down here.
Support Zone: Place Support Cards or Permanent Support Cards here to activate them.
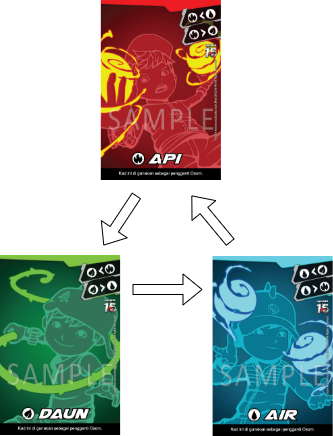
🔥>🍃>💧>🔥
OSOM Winning Rules
💧 Water beats 🔥 Fire
🔥 Fire beats 🍃 Leaf
🍃 Leaf beats 💧 Water
Tie Situation
If both players play the same OSOM card (example: Water vs Water), nobody wins. Continue with the second OSOM.
OSOM Strategy Tips
Try to guess your opponent’s pick based on previous rounds
Save your strong OSOM cards for important moments
Watch your opponent’s playstyle for patterns
ICON EFFECTS
Effect Icons were introduced in the Champions Rise Pack (2025) to make it easier for players to know the order of card effects.
These icons show which effect triggers first, helping players decide the correct activation order.
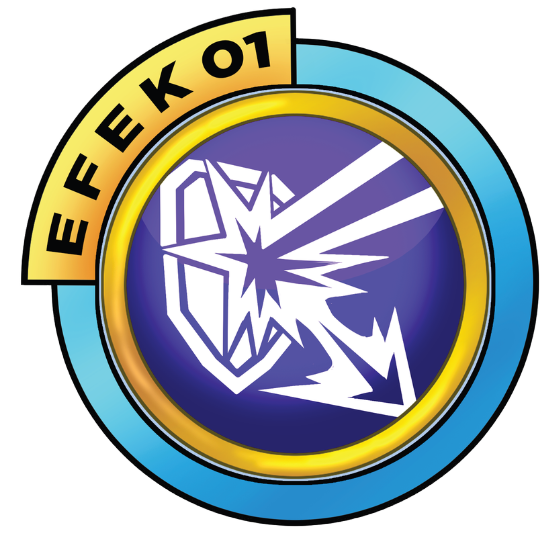
PRIORITY : FIRST
How it works: Effects that disable or cancel an opponent’s card effect get the highest priority — they activate first.
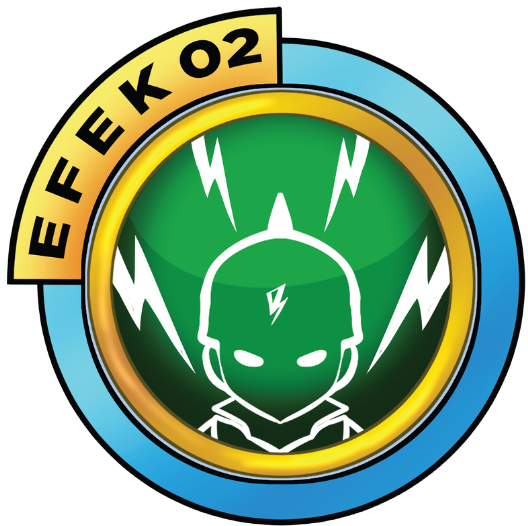
PRIORITY : SECOND (After “Efek 01” played)
How it works: Cards that give effects to themselves.
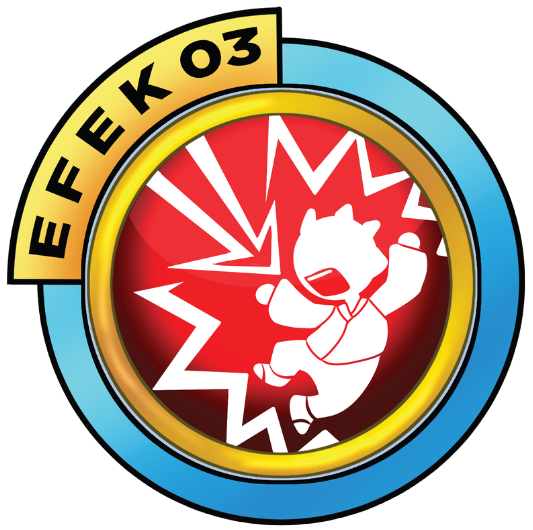
PRIORITY : THIRD (After “Efek 02” played)
How it works: Effects that target the opponent only activate after all other effects are done.
⚠️ Untuk kad dari pek sebelum Champions Rise: Rujuk halaman 13-16 rulebook untuk semak Ikon Efek setiap kad dari pek lama (Cyclone Fury, Techno Breaker, Heroes Unite, dll.)
📌 Kad tanpa Ikon Efek: Guna peraturan asas - Efek pada diri sendiri dahulu, kemudian efek pada lawan.
Step 1: The Duels Begins
- Shuffle your deck and draw 3 cards.
- Both players place 1 Active Card face-down in the Active Zone.
- Reveal them at the same time
Step 2: HP Marker
- Place the HP Marker on your card in the Active Zone.
- Your HP will decrease when you get attacked.
Step 3: Active Effect Cards
- If your card has an effect, activate it in the right order.
- If there’s no effect, go straight to Step 4.
- Some effects happen before Osom, and some happen during Osom.
Step 4: Decide the Turn Order
- Both players pick 1 Osom card from their 3 Osom cards.
- Place it face-down in the Osom Zone.
- Reveal them at the same time.
- The winner attacks first (Water beats Fire, Fire beats Leaf, Leaf beats Water).
Step 5: HP Calculation
- The winner’s ATK will reduce the opponent’s HP.
- Keep doing Osom until one card’s HP hits zero.
Step 6: Support Cards
- After the first Osom, players can use Support Cards.
- Support Cards give new effects.
- Permanent Support Cards stay active until you replace them.
Step 7: Separate the Win/Lose cards
- The winning card goes to the Win Zone.
- The losing card goes to the Lose Zone (face-down).
- Any Support Cards you used also go to the Lose Zone.
Step 8: Draw cards from the Deck
- Each player must have 3 cards in hand at the start of a new round.
- If you have fewer than 3, draw until you reach 3.
- If you already have 3 or more, just draw 1 card only.
Step 9: Extras
If you can’t place a card in the Active Zone at the start of your turn, you lose instantly.
This still applies even if you already have more cards in your Win Zone.
Conditional Cards: Some cards can only be placed if you meet a special condition.
Permanent Support Cards:
Their effect stays even after the round ends
Max 2 in a deck
Only you can cancel it by placing a new Support Card
Deck Runs Out: The game continues with whatever cards you still have in your hand.
You lose if you can’t place a card in the Active Zone.
Frequently Asked Questions
1. Can I use cards with the same name but from different packs?
Yes, it’s allowed! For example: Kelkatoa Cyclone Fury and Kelkatoa Choki-Choki can be in the same deck because they come from different packs.
Another example: BoBoiBoy (S) Cyclone Fury and BoBoiBoy (SR) Cyclone Fury — both can be used in the same deck because they have different designs, HP, and ATK
2. What happens when the Deck runs out of cards?
The game keeps going. You won’t draw any extra cards and you can only play using the cards already in your hand.
IMPORTANT: You lose instantly if you can’t place a card in the Active Zone!
3. Can I use a Support Card without meeting the requirement?
Nope, you can’t!
A Support Card that doesn’t meet its requirement isn’t allowed to be played.
It stays in your hand and you can’t use it just to reduce the number of cards you’re holding.
4. What’s the maximum number of Permanent Support Cards allowed in a deck?
Only 2 of them are allowed in each deck.
5. Can I use a Conditional Card if the required card gets removed by my opponent’s effect?
Nope, you can’t!
Example: BoBoiBoy Supra needs BoBoiBoy Solar and Halilintar. If both of these cards get discarded from your hand by your opponent’s effect before you’ve ever played them in the Active Zone, then you can’t use BoBoiBoy Supra.
Important: The required cards must have been placed in your own Active Zone at least once.
6. What happens to a card’s effect after switching cards?
A card effect that hasn’t been used yet can’t be used by the player who receives the card after a swap.
Example: Ying has an effect ‘HP +40 if Yaya is in your hand.’ If this effect was already active before the swap (so HP becomes 140), the player who gets Ying will receive the card with 140 HP.
But the new player can’t use that effect anymore
7. Can I pick a BoBoiBoy Fusion Card using the effect ‘Ambil kad jenis BoBoiBoy dari Dek’?
Nope, you can’t! BoBoiBoy Fusion cards are Support Cards, not cards you can place in the Active Zone.
‘BoBoiBoy-type cards’ refers only to cards that can be played in the Active Zone, unless the effect specifically says you can take a Support Card from the Deck.
What’s the difference between ‘Pinjam’, ‘Tiru’, and ‘Sedut’?
Pinjam & Tiru: They work the same. You take an effect from another card, and the effect stays on your card.
Sedut: Almost the same, but with one big difference — when you sedut an effect from your opponent’s card, the original owner loses that effect. It’s a full transfer, not just copying.
Note: If Pinjam/Tiru is used during the Support Card phase, the effect only lasts for that turn unless it increases HP or ATK — those stay permanently.